 Inference
 Marketplace


Introduction
Install EVE-OS from a flashed USB drive onto an edge device’s onboard storage — either physical hardware (bare metal) or a virtual machine. After installation, the device is ready to be onboarded to Edge Infrastructure Services. The first time you install EVE-OS might be while you’re onboarding a node. You can install EVE-OS on your device at any time before or after completing all the steps in the onboarding flow. After onboarding, the edge device is called a node. This is the third step in the EVE-OS installation sequence:- Get EVE-OS
- Flash an EVE-OS Installer or Live Image
- Install EVE-OS onto an Edge Device — you are here
Prerequisites
- A USB drive with an EVE-OS installer image flashed onto it. See Flash an EVE-OS Installer or Live Image.
- Physical access to the edge device.
- A stable internet connection through a wired Ethernet port with port 443 open.
Recommendation: Clear the INVENTORY Partition Before Each Installation
Each EVE-OS installation creates a directory in the installer media’s INVENTORY partition. The directory name is the node’s soft serial number and contains hardware information needed for onboarding. Clear the INVENTORY partition before each installation to avoid confusion when onboarding multiple nodes from the same USB drive.Install EVE-OS
- Power off the edge device.
- Connect the edge device to a monitor, keyboard, and wired network.
- Plug in the USB drive with the EVE-OS installer.
- Power on the device and immediately and repeatedly press the BIOS access key (commonly F2, F10, Delete, or Esc) to enter the BIOS.
- In the BIOS, configure the following settings if available:
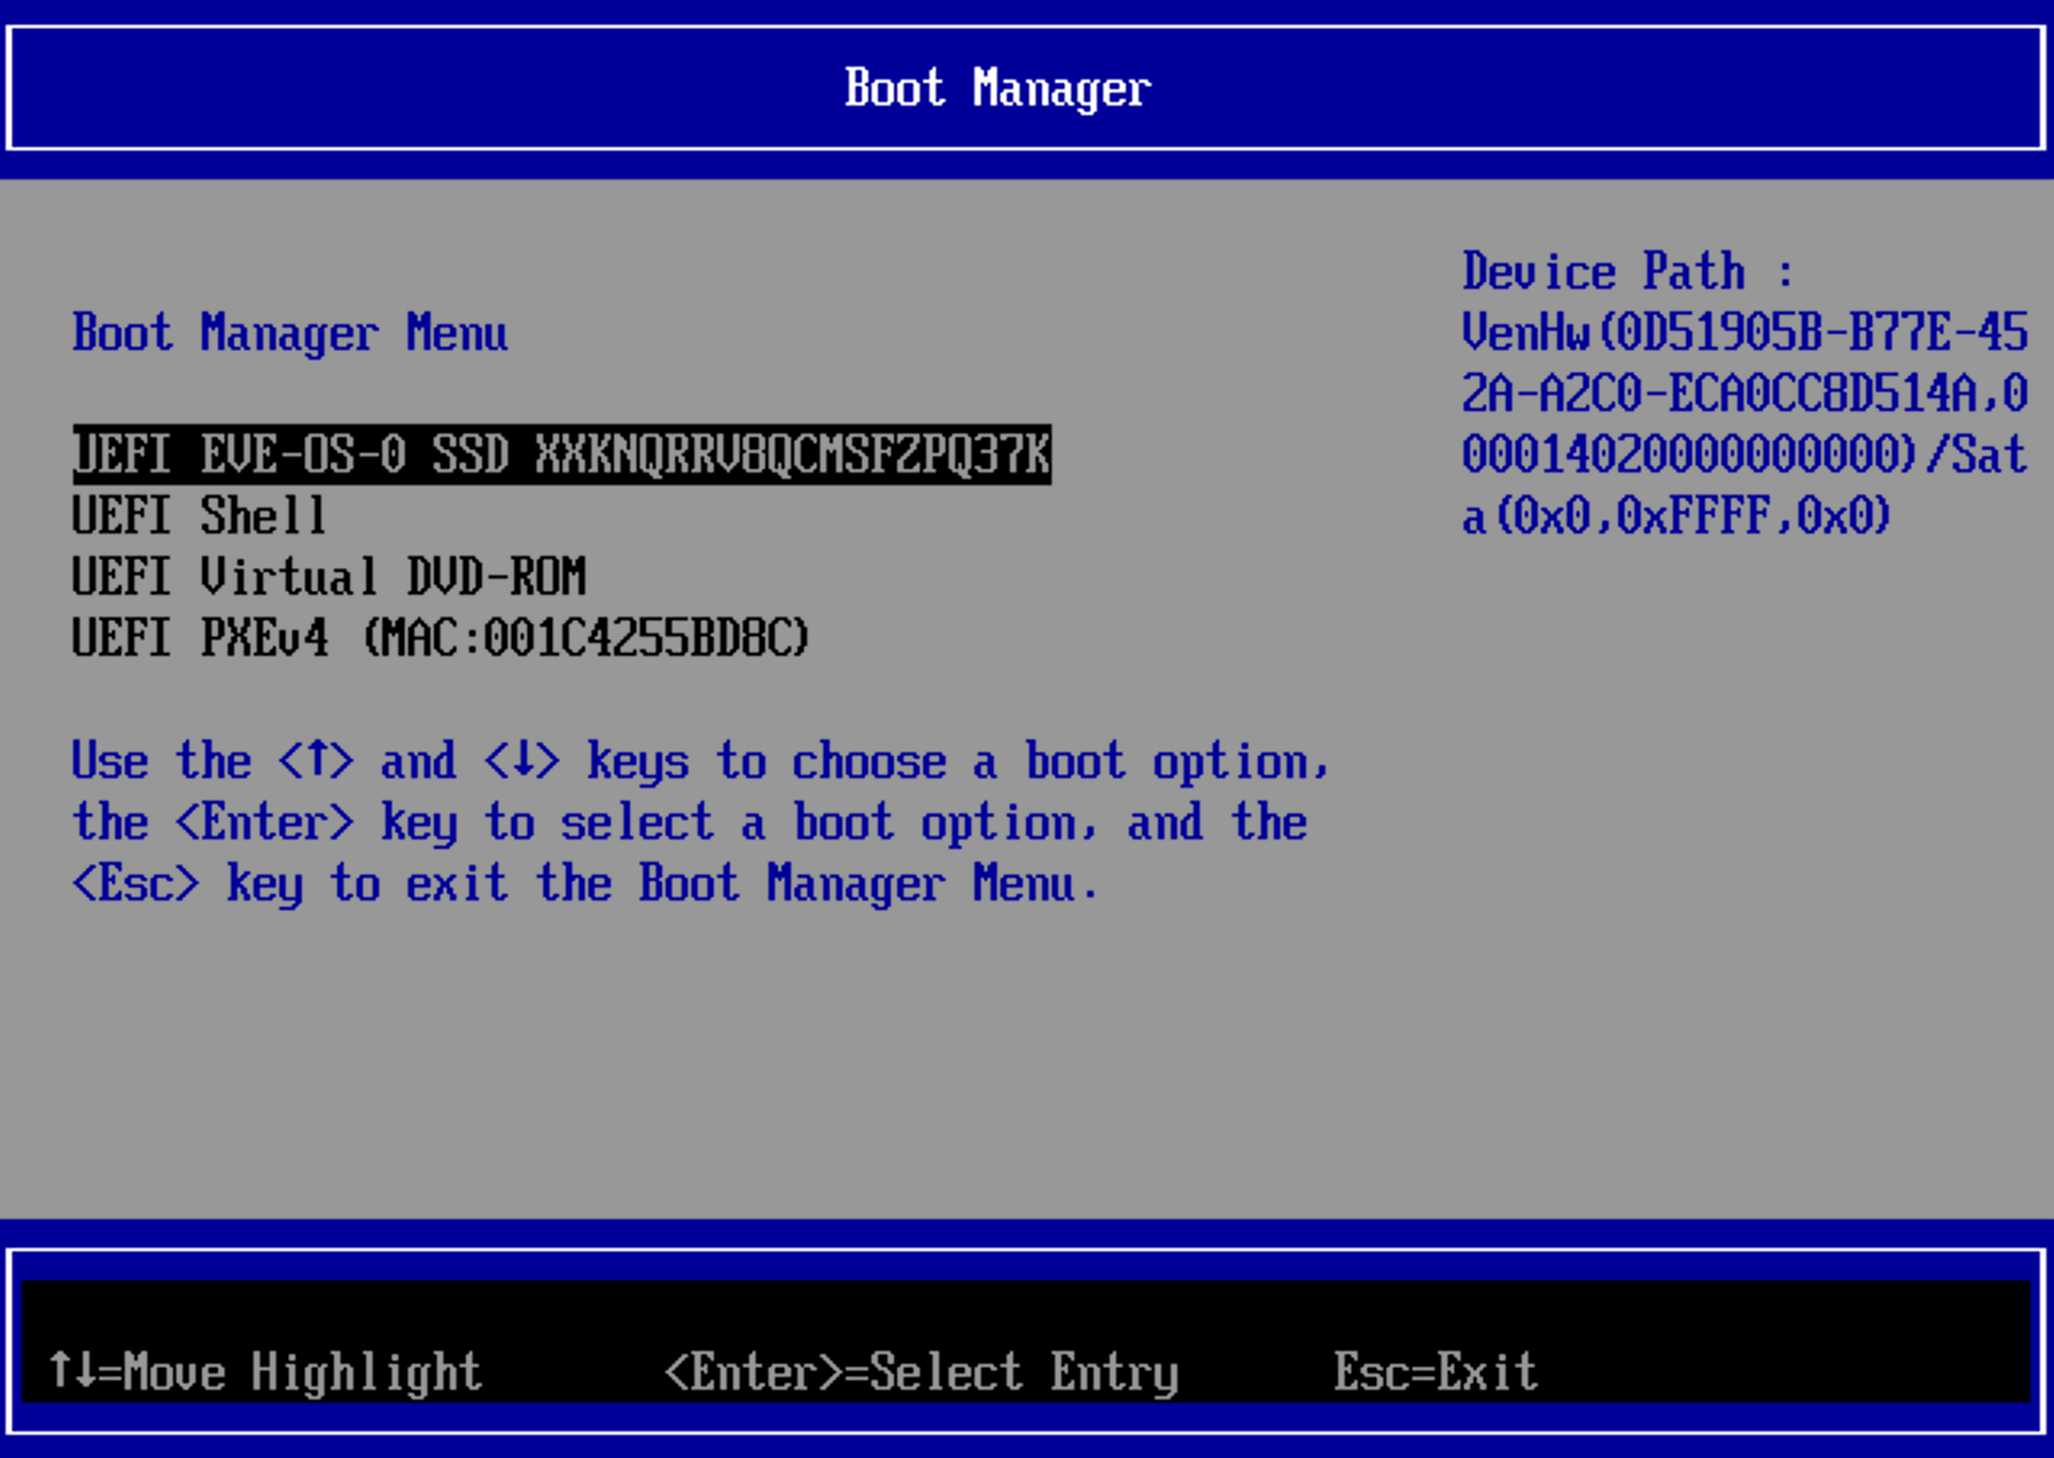
- Set the boot order to boot from the USB drive first. UEFI is a common substitute for a BIOS. In the following example, you would move UEFI EVE-OS to the top of the list.
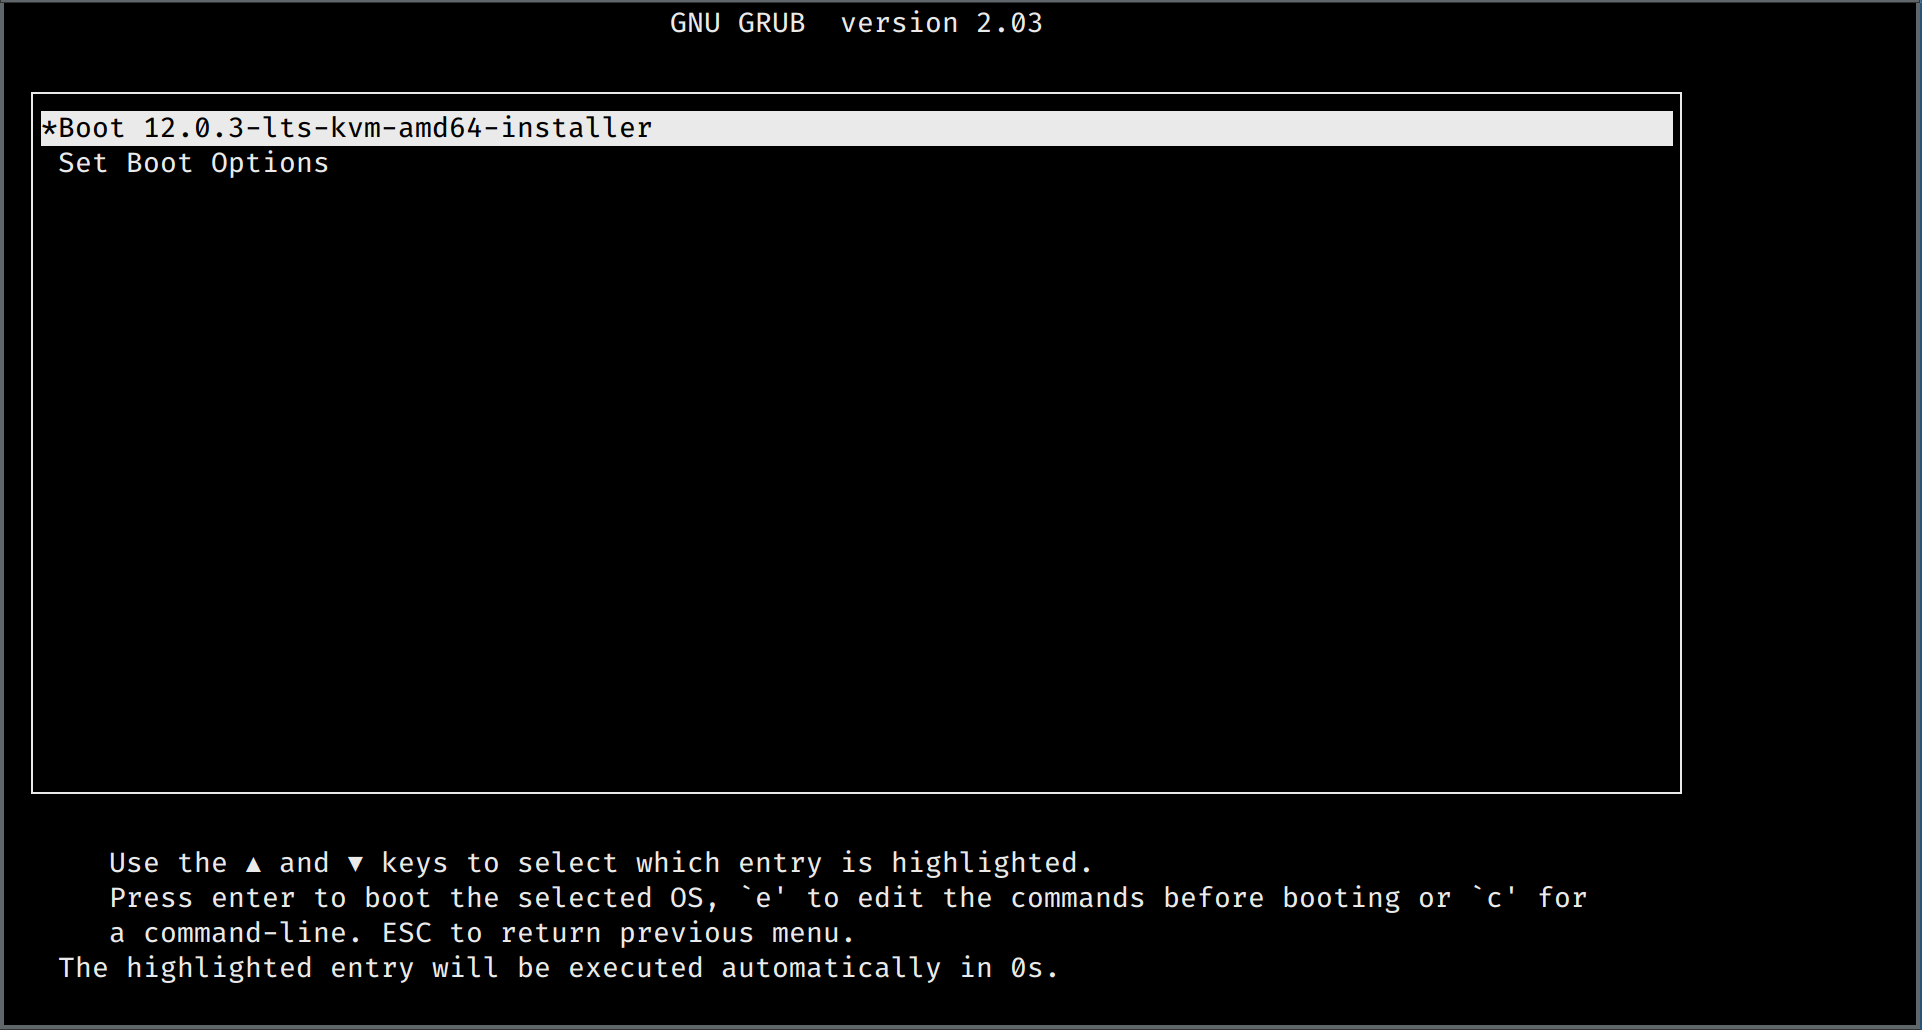
- Save your changes and reboot. EVE-OS installation begins automatically. GRUB displays the available boot entries. The installer is typically labeled with “installer”.
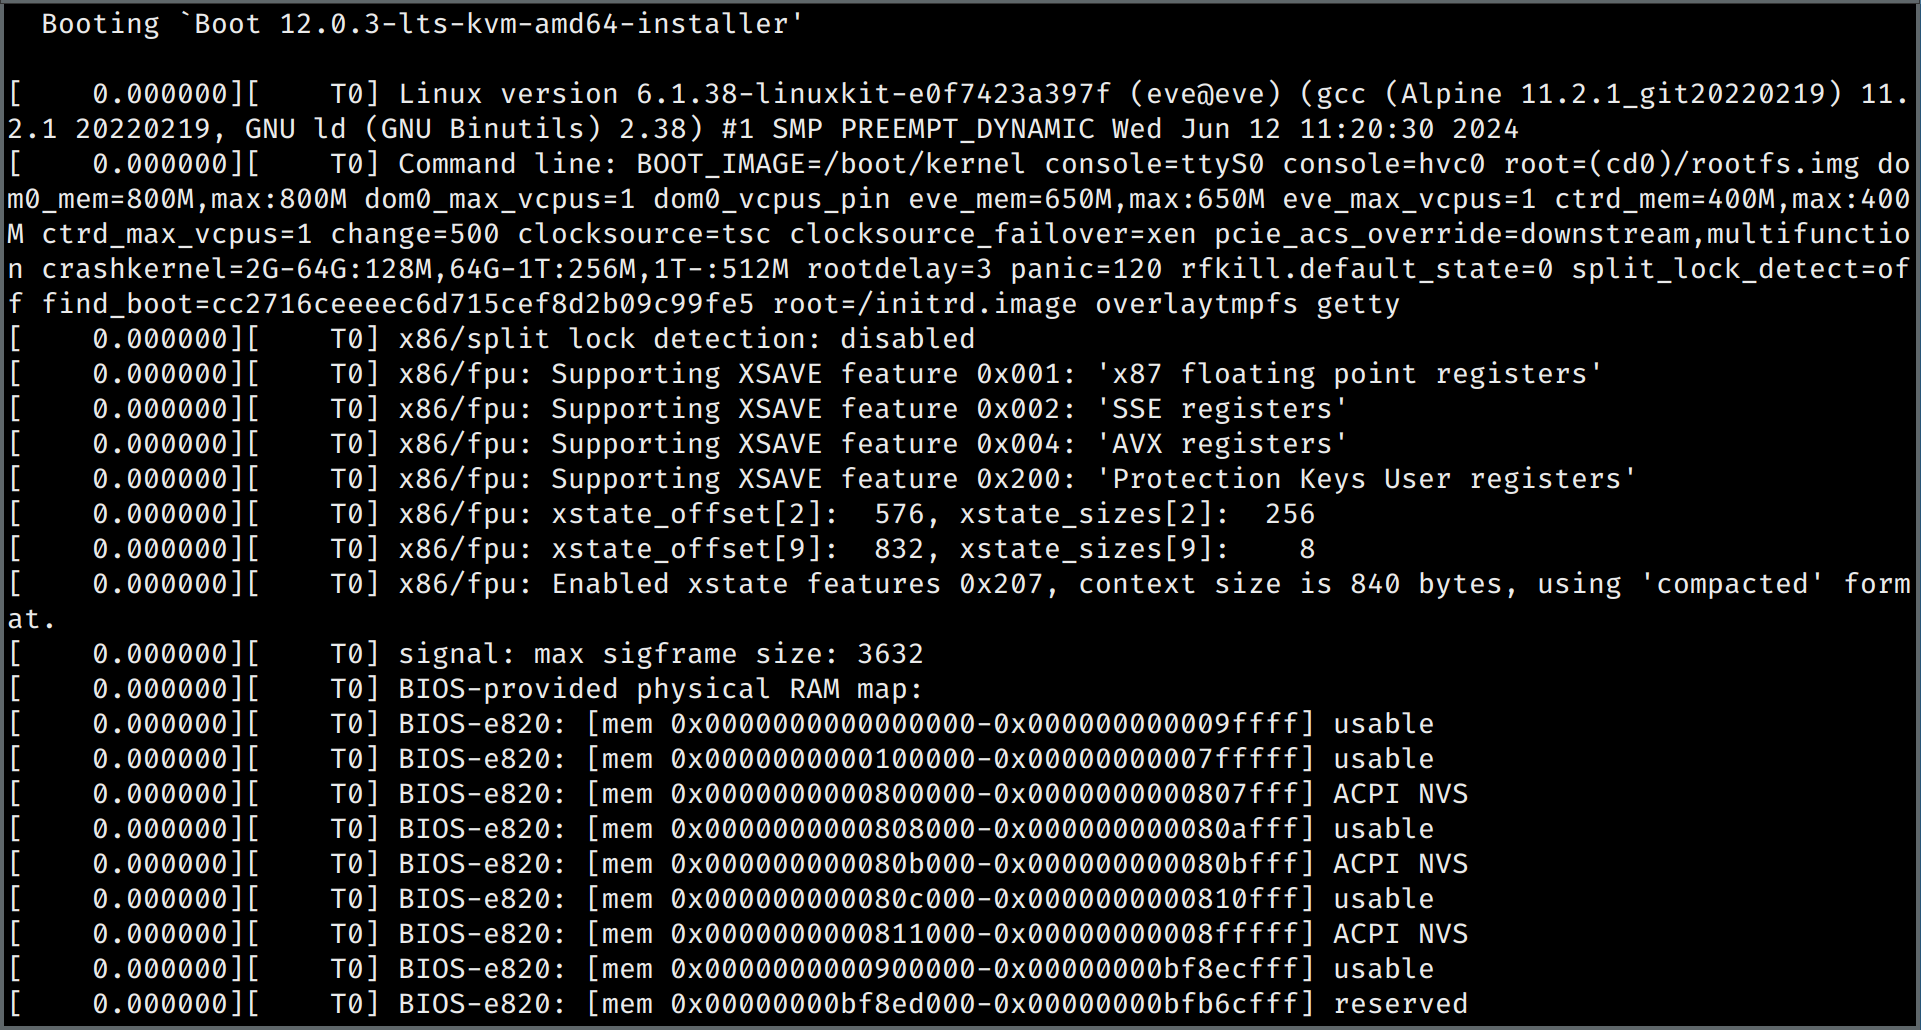
- Boot from the installer entry. The screen shows “Booting
Boot <version>-installer”.
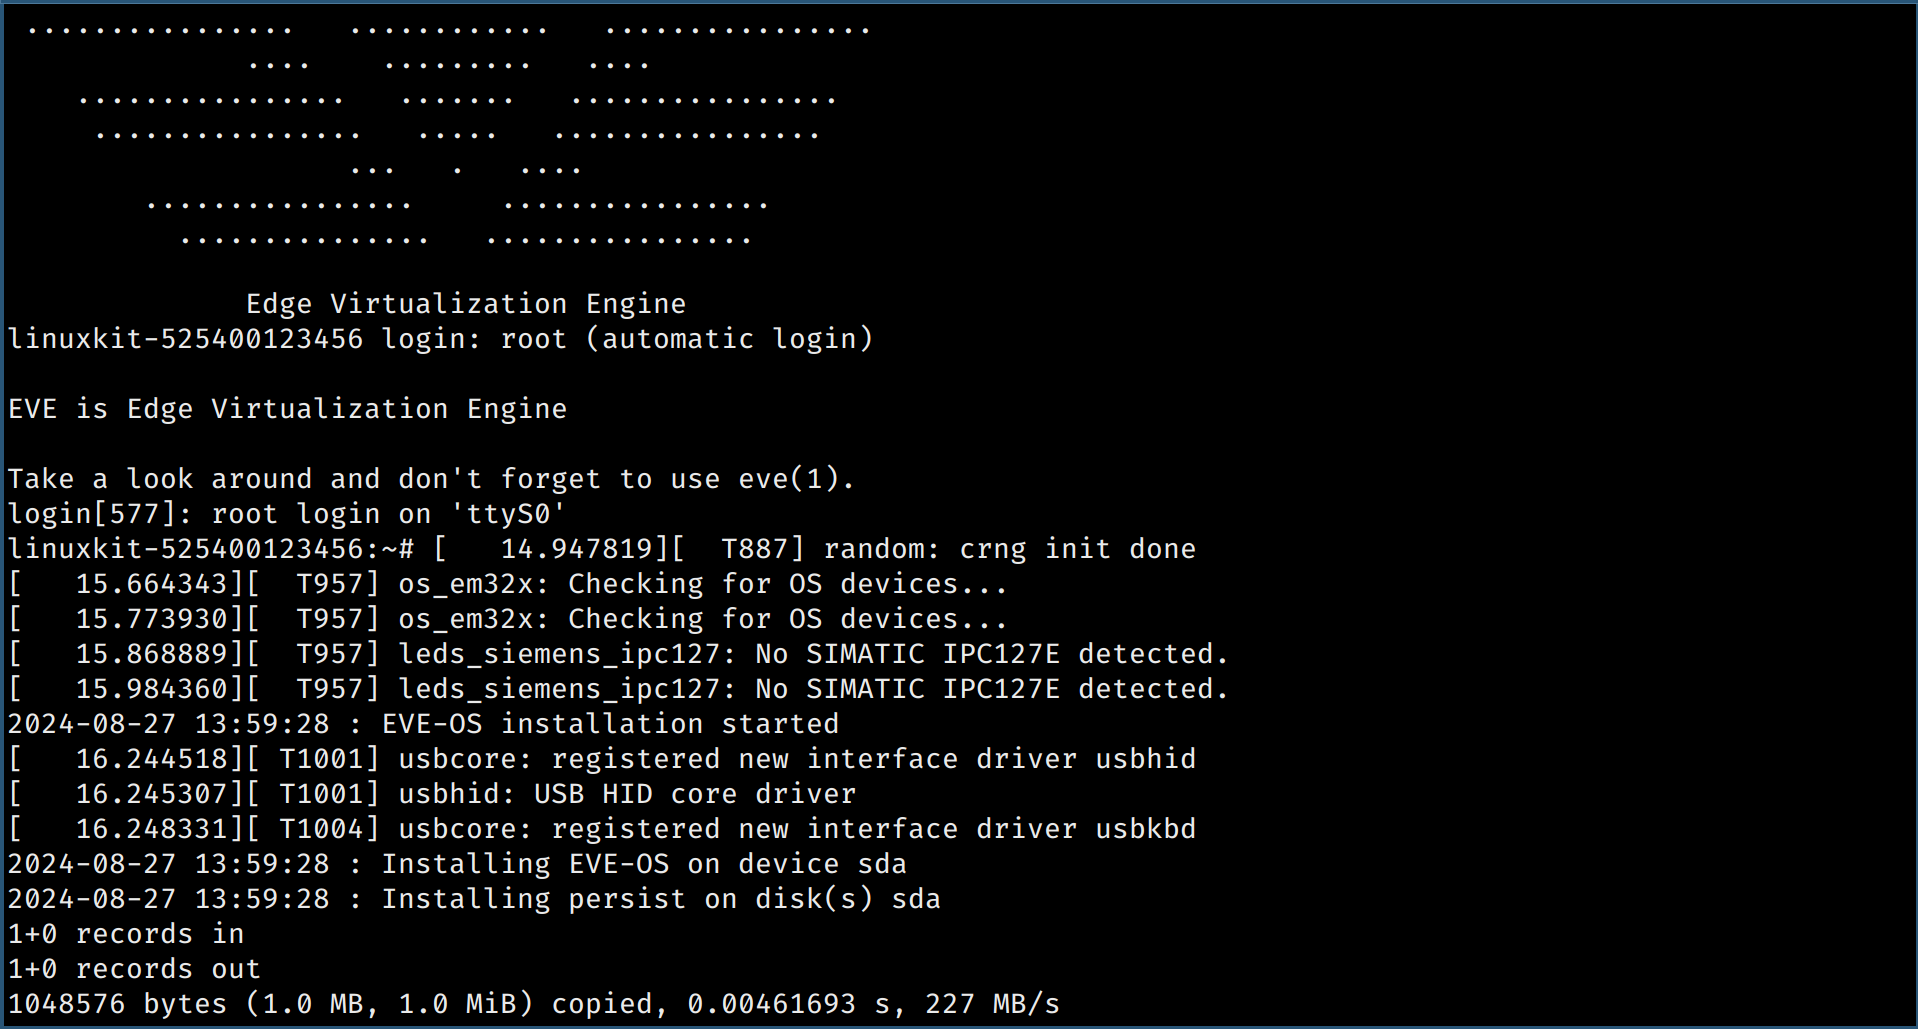
- Wait for installation to complete. You see the Edge Virtualization Engine startup screen when EVE-OS begins installing.
- When installation is complete, the device powers down automatically. Unplug the USB drive and save it because you will need it when you onboard this specific node. Do not use it for another installation until you complete onboarding.
- Recommended: Re-enter the BIOS and set the default boot drive to the device’s onboard disk, which now contains EVE-OS.
Verify Post-Installation
After the edge device reboots, GRUB should show it booting the newly installed EVE-OS image.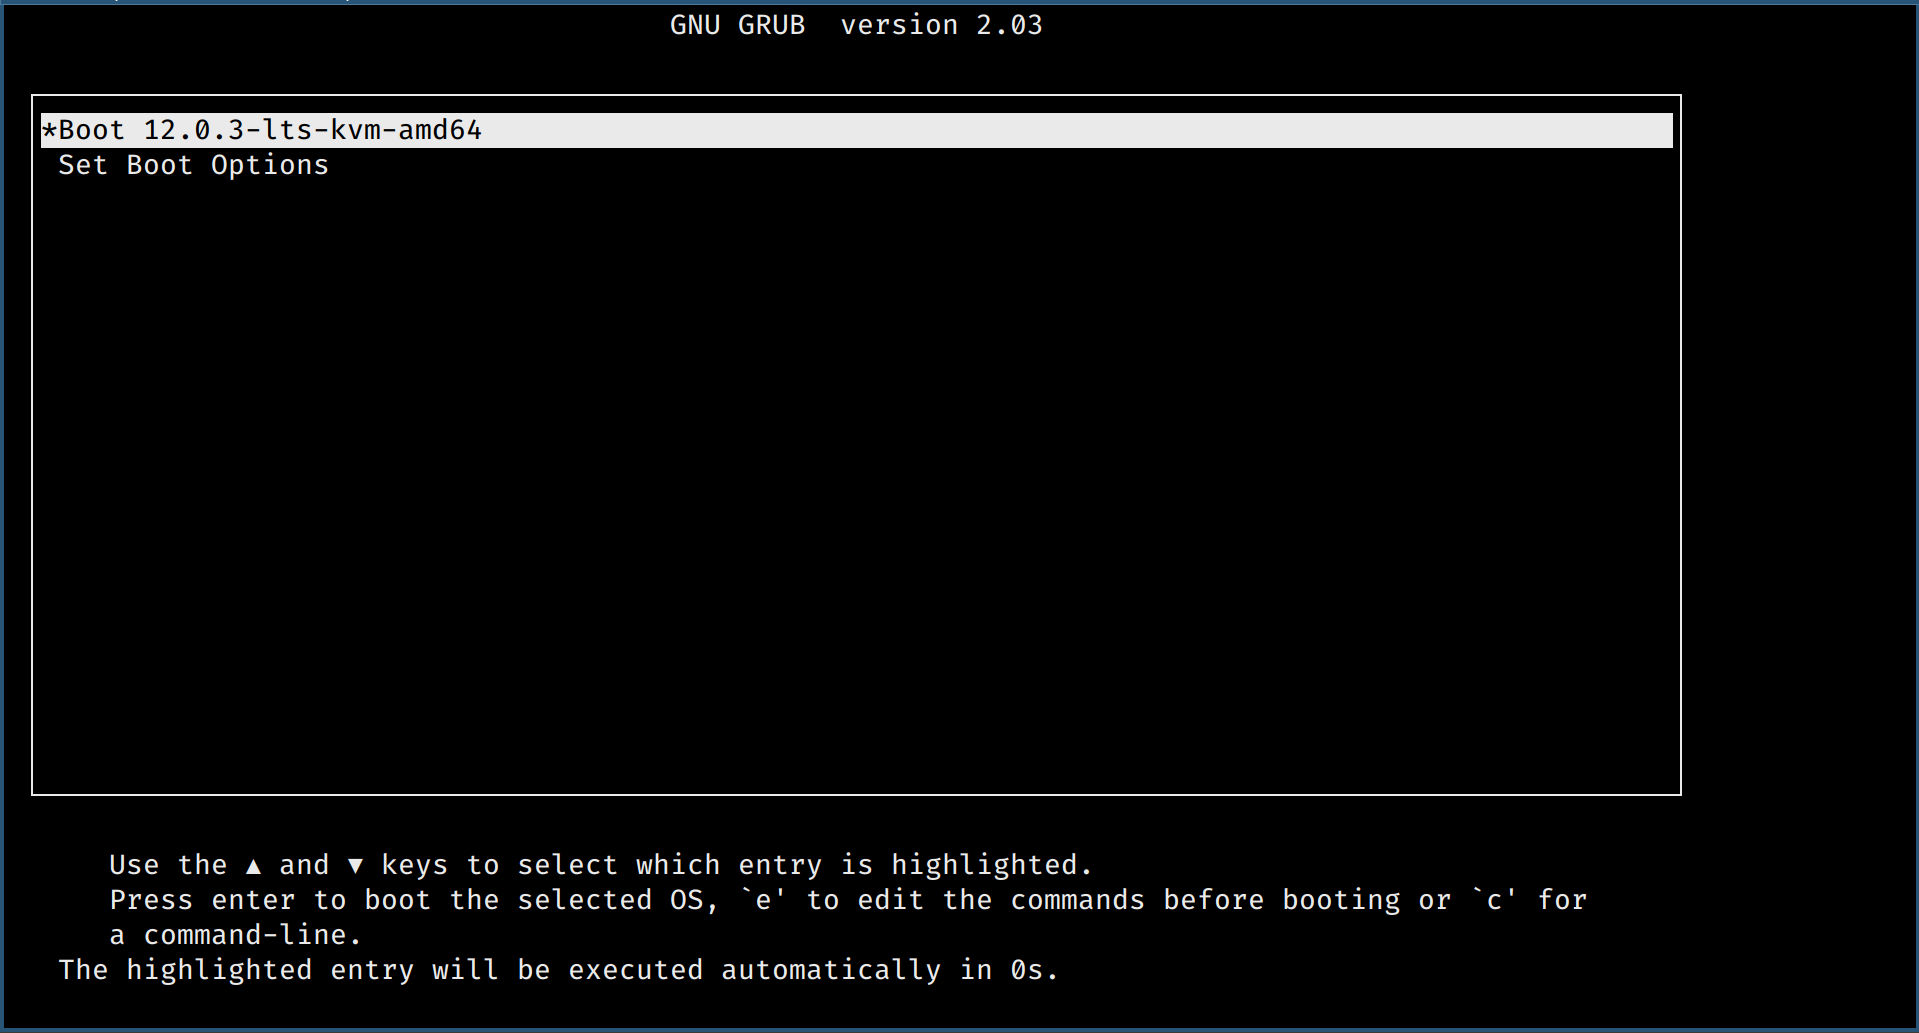
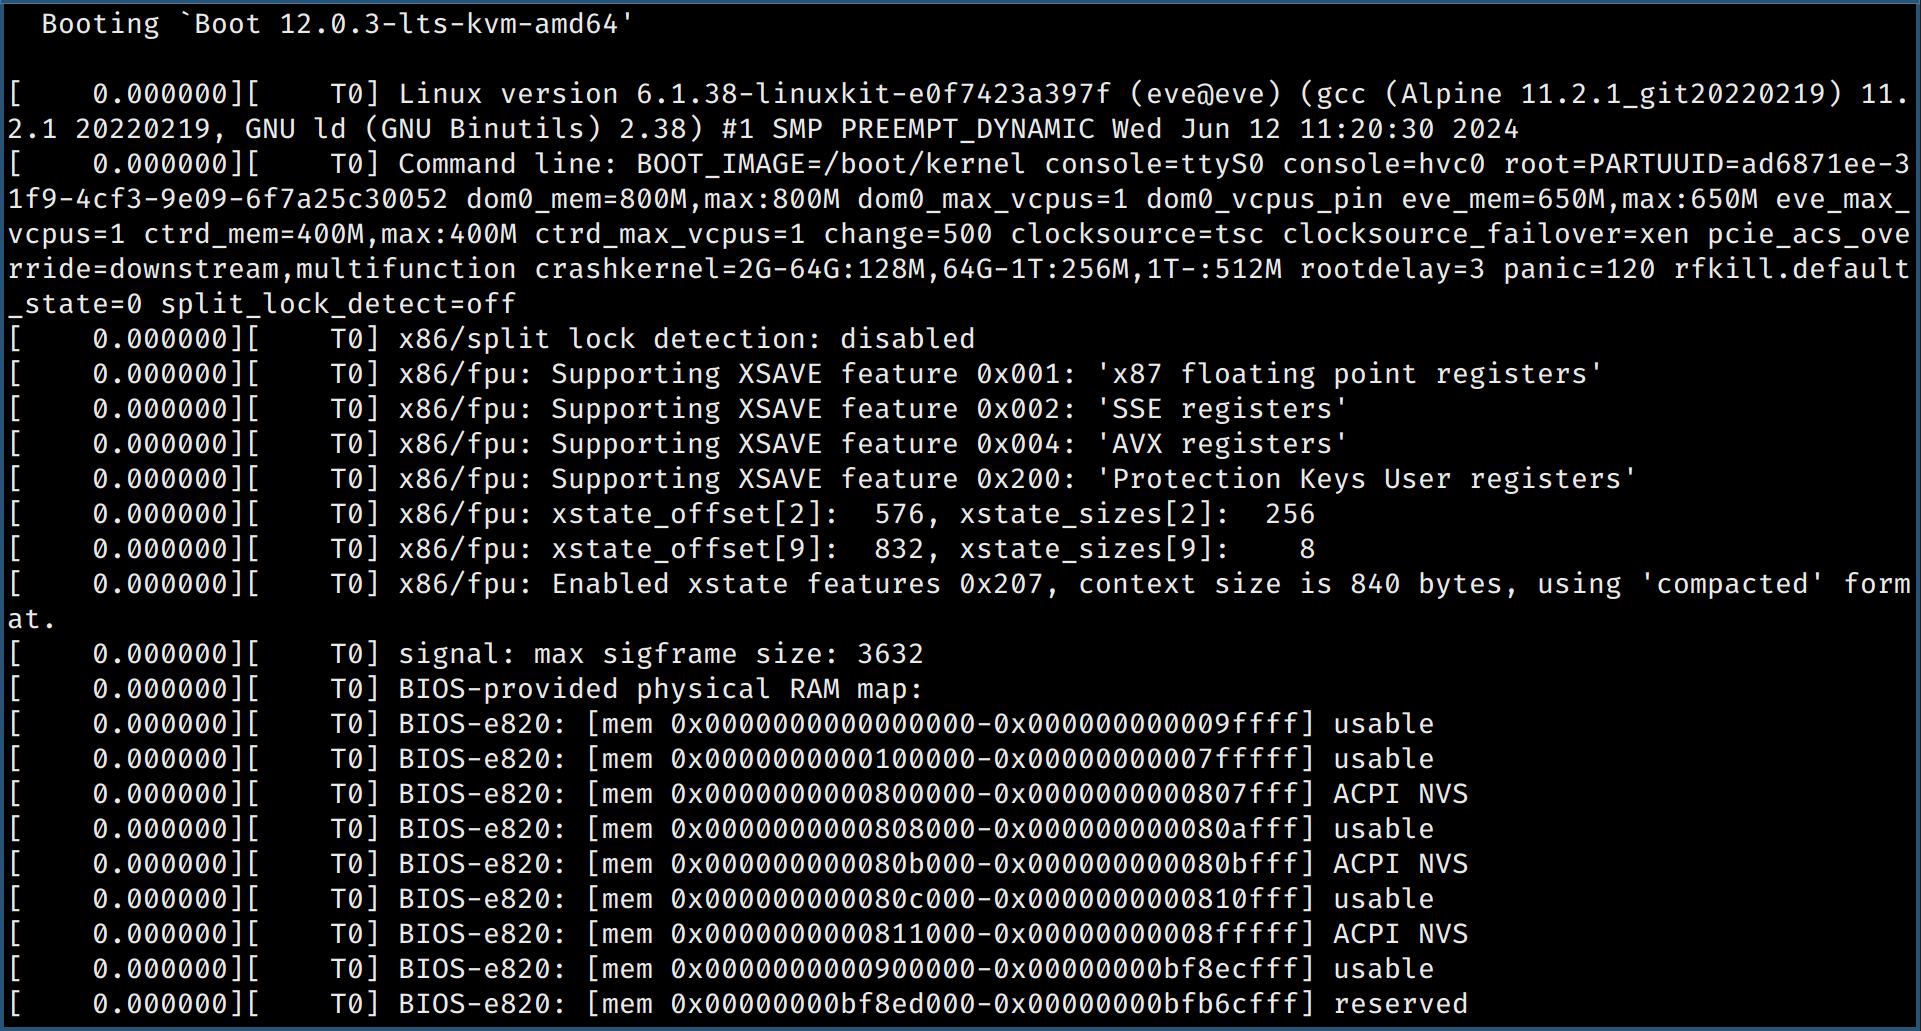
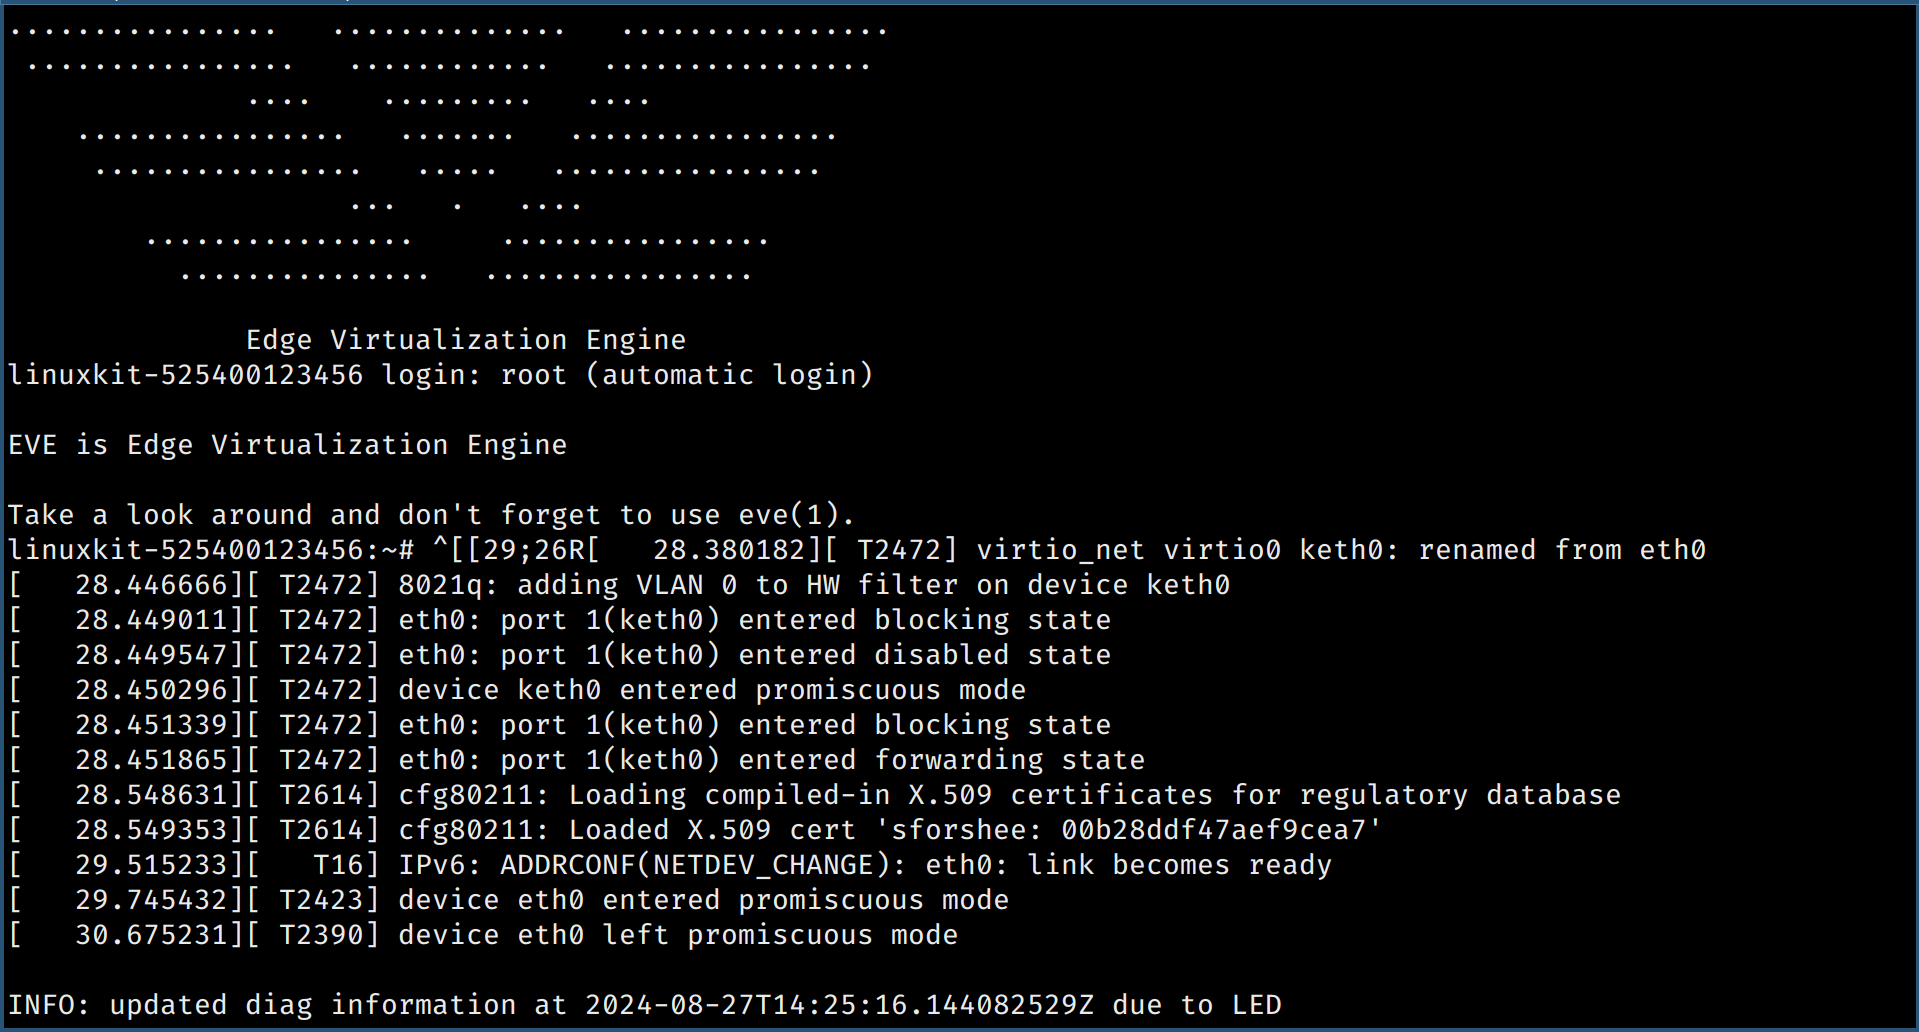
- Connected but not onboarded: The node is online and waiting to be enrolled.

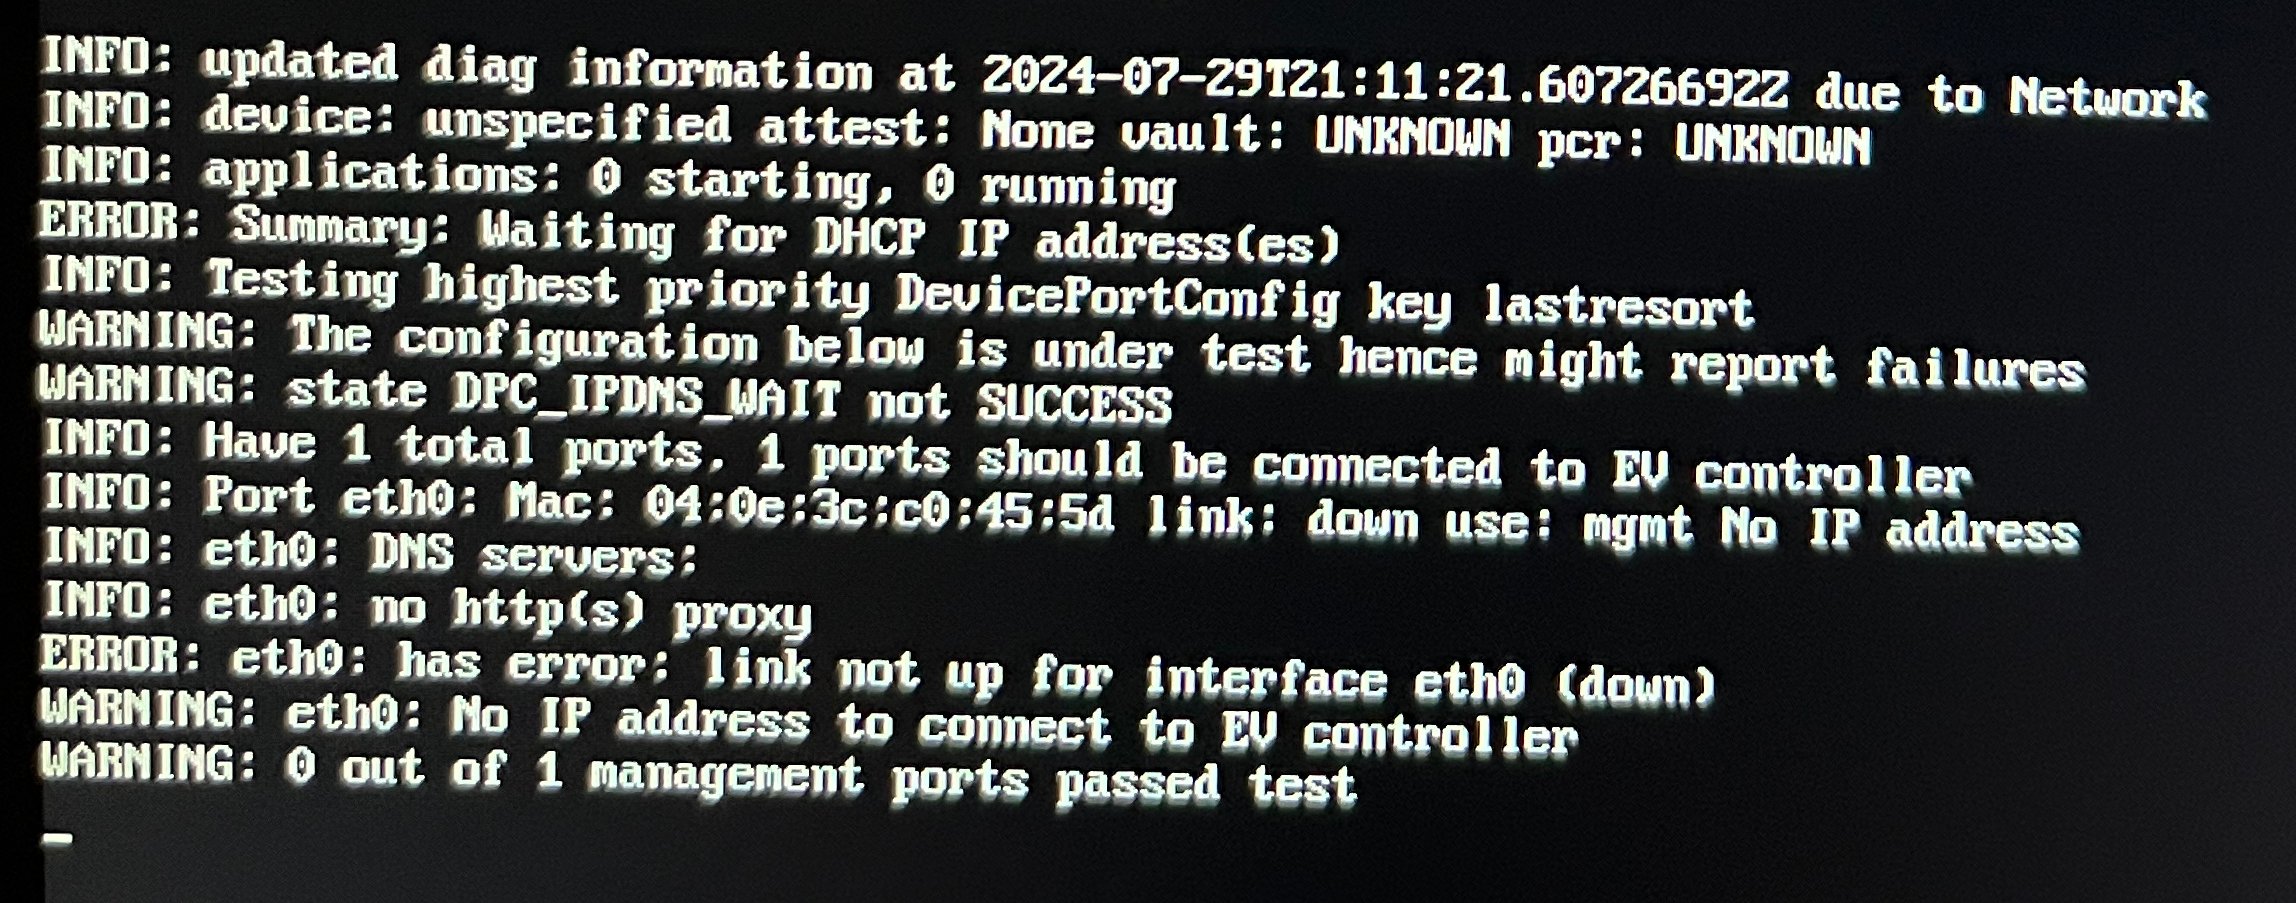
- No IP address: The node has no network connectivity. Check the Ethernet connection and verify port 443 is open.

- Last resort mode: EVE-OS is treating all Ethernet ports as DHCP clients. This happens if no network configuration was found.
Next Steps
Onboard Nodes
Enroll the node in Edge Infrastructure Services.